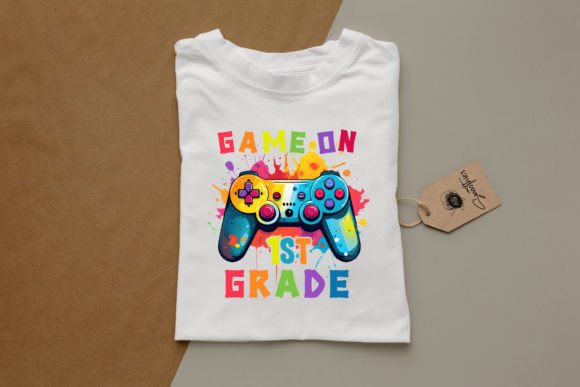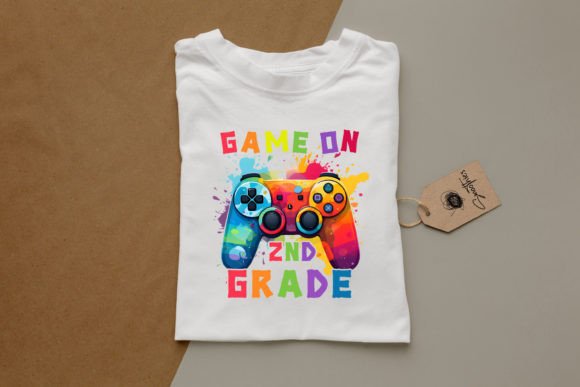
Back to School Game on 2nd Grade
Whether you're designing classroom welcome kits, launching a small print-on-demand shop, or planning a themed back-to-school party for second graders, the Back to School Game on 2nd Grade digital asset offers versatile creative potential. It’s not a physical board game or interactive app—it’s a high-resolution, transparent-background PNG file designed for real-world application: think t-shirts for student orientation day, custom mugs for teacher appreciation, wall art for learning centers, or printable decorations for bulletin boards and reading corners.
What makes this file especially useful is its professional-grade specs: 4000x4000 pixels at 300 dpi, optimized for clarity across scales—from tiny stickers to large-format wall decals. But here’s where many buyers stumble—not because the file is flawed, but because expectations and usage assumptions don’t always align with reality.
Common Misunderstandings—and Why They Matter
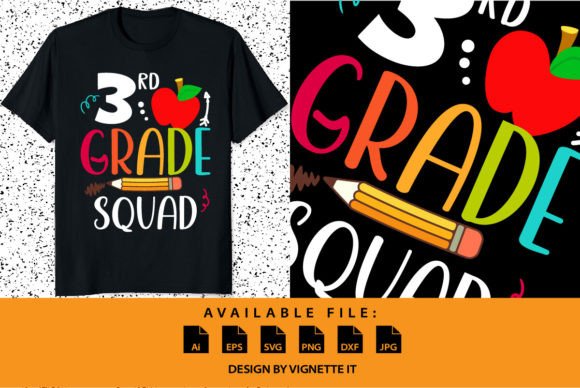
Assuming it’s a ready-to-print PDF or editable vector. This file is a PNG only—no SVG, EPS, or AI files included. That means you can’t easily recolor individual elements or resize without checking pixel integrity in your editing software. If you plan to use it for sublimation on light-colored polyester, the transparency works beautifully. But if you’re printing on dark fabric or using heat-transfer vinyl, you’ll need to add a white underbase layer first—a step many overlook until their first test print comes out faint or incomplete.
Expecting plug-and-play compatibility with cutting machines. The listing clearly states there are no cutting files (like SVG or DXF) included. Yet some buyers assume the clean edges of the PNG mean it’s “cut-ready.” Without vector paths, your Cricut or Silhouette won’t auto-detect outlines—so manual tracing or background removal becomes necessary before die-cutting. Skipping this step leads to jagged cuts, wasted material, or misaligned layers on layered projects like scrapbook pages or layered vinyl decals.
Overlooking color consistency across devices and output methods. The design was created and proofed on calibrated monitors—but your laptop screen, phone display, or even your home printer renders RGB differently than commercial CMYK presses or sublimation printers. One educator ordered 50 birthday cards based on how vibrant the file looked on her tablet, only to find the printed version appeared muted and slightly cooler in tone. That mismatch didn’t ruin the project, but it did require reordering with adjusted color profiles and a printed test sheet first.
What to Check Before You Download or Buy
Before finalizing your purchase—or worse, building an entire product line around this file—take three quick verification steps:
- Confirm your intended use matches the file type. Need crisp text for signage? PNG works fine at full resolution. Planning intricate embroidery digitizing? You’ll need vector source files instead.
- Test transparency handling in your workflow. Open the PNG in your preferred editor (Photoshop, Canva, Affinity Designer, or even free tools like Photopea). Drop it onto a colored background. Does the outline stay sharp? Does anti-aliasing create faint halos? If yes, you may need to refine edges manually before scaling down for stickers or small labels.
- Review your printer or production partner’s requirements. Sublimation providers often ask for RGB files with embedded profiles; DTG printers may prefer sRGB; offset printers need CMYK conversion. Don’t assume one format fits all—ask first, then adjust accordingly.
Better Approaches for Real-World Results
Instead of treating this as a “one-click solution,” treat it as a foundational element—one that gains value when paired with smart prep. For example:
A homeschool parent used the Back to School Game on 2nd Grade PNG to create personalized learning trackers. She imported it into Canva, added editable text boxes for weekly goals, then exported as PDFs for laminating. By keeping the original PNG untouched and working non-destructively, she preserved quality across dozens of variations—and reused the same base file for flashcards, reward charts, and progress journals.
A small business owner selling teacher-themed merchandise tested the design across three substrates: ceramic mugs (sublimation), cotton tote bags (screen print), and matte-finish greeting cards (digital press). Each required different prep—resizing to exact dimensions, adjusting contrast for ink absorption, and soft-proofing against ICC profiles. Her takeaway? “One file, three workflows—and zero rework—because I tested early and documented settings.”
And educators preparing for open house night printed the image at 24x36 inches on photo paper, mounted it on foam board, and used it as a visual anchor during parent orientation. Because they checked resolution-to-print-size ratios first (4000px ÷ 300 dpi = ~13.3 inches at full size), they knew they’d need to upscale carefully—so they used Genuine Fractals or AI upscaling tools *before* sending to the lab, avoiding pixelation.
Final Thought: Quality Starts With Clarity
The Back to School Game on 2nd Grade PNG delivers what it promises: a clean, scalable, classroom-appropriate graphic built for makers who understand the difference between “high-res” and “production-ready.” Its strength lies not in being all things to all people—but in doing one thing exceptionally well: giving you a polished, flexible starting point.
Your best results won’t come from speed or automation alone. They’ll come from pausing just long enough to ask: What am I making? For whom? And what does *that* specific use actually require? When you match intention with preparation—even something as simple as a single PNG file becomes a reliable, repeatable, and genuinely helpful tool.