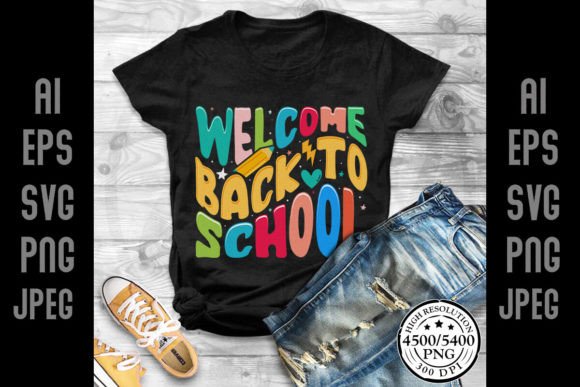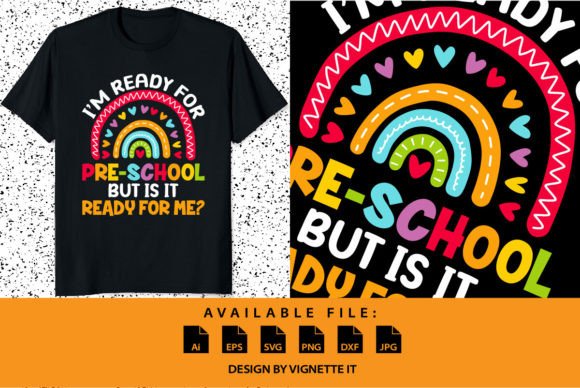
I’m Ready for Pre-school Back to School
Whether you’re a parent prepping your little one’s first classroom experience, a teacher designing welcoming bulletin boards, or a small business owner crafting custom back-to-school merchandise — I’m Ready for Pre-school Back to School is more than just cheerful lettering. It’s a versatile, ready-to-use digital design set built specifically for electronic cutting machines like Cricut, Silhouette, and Glowforge. With clean lines, thoughtful spacing, and school-ready charm, it helps you create signs, t-shirts, tote bags, classroom labels, welcome banners, and personalized keepsakes — all in minutes.
Why This Design Resonates (and Why Format Choice Matters)
Unlike generic “Back to School” phrases, I’m Ready for Pre-school Back to School speaks directly to emotional milestones: pride, anticipation, gentle independence. That makes it especially valuable for educators building inclusive environments and parents marking a meaningful transition. But here’s what many overlook: format determines function. A JPG looks great on screen — but won’t cut. An SVG works flawlessly in Silhouette Studio, while DXF is essential for certain laser-cutting workflows. AI and EPS files preserve scalability and editing flexibility for designers who need to tweak colors or layers in Adobe Illustrator or CorelDRAW. Choosing the wrong format doesn’t just slow you down — it can halt your project entirely.
Common Missteps — and How to Avoid Them
Mistake #1: Assuming one file type fits all machines or software.
Many buyers download only the SVG — then discover their older Cricut machine requires DXF, or their vector editor opens EPS more reliably. Result? Wasted time troubleshooting instead of cutting. Better approach: Check your machine’s supported formats *before* downloading. If you use multiple tools (e.g., Silhouette for vinyl + Glowforge for wood), download *all six files* — AI, EPS, SVG, DXF, JPG, PNG — so you’re covered across platforms.
Mistake #2: Expecting fonts to be embedded or included.
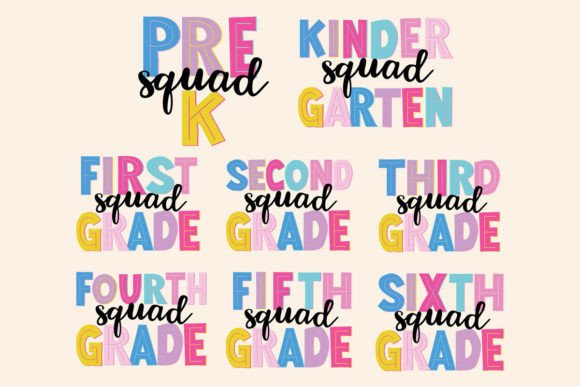
The text in this design is outlined — meaning letters are converted to shapes, not live type. That ensures consistency across devices, but also means you cannot edit the wording or swap fonts later. If you plan to customize phrasing (e.g., “I’m Ready for Kindergarten”), you’ll need basic vector-editing skills — or purchase a layered version designed for modification. Pro tip: Open the AI or EPS file in Illustrator first to confirm outlines are clean and spacing remains intact at different sizes.
Mistake #3: Overlooking resolution and scaling limits.
JPG and PNG files are raster-based — perfect for print-on-demand mockups or social media posts, but they pixelate if enlarged beyond 12 inches wide. Meanwhile, SVG, DXF, AI, and EPS scale infinitely without quality loss. If you’re making a 36-inch banner or a tiny 1-inch sticker, always start with a vector format. Don’t stretch the PNG and wonder why edges look fuzzy.
What to Verify Before You Buy (or Use)
Before completing your purchase, ask yourself three practical questions:
- Do I understand this is a digital-only product? No physical item ships — just instant access to downloadable files. If you expect a printed poster or vinyl decal in the mail, this isn’t the right resource.
- Am I comfortable using vector files? While SVGs open easily in most craft software, AI and EPS may require Illustrator or Inkscape (free). If you’ve never ungrouped layers or adjusted compound paths, try opening the SVG first — it’s the most beginner-friendly vector option here.
- Do I know how I’ll apply this? Cutting vinyl? Use SVG or DXF. Printing on fabric transfers? PNG with transparent background works best. Creating layered paper crafts? AI or EPS gives you full control over individual elements.
Also note: Commercial rights are included — meaning you can legally sell mugs, shirts, or framed prints featuring this design. But you cannot resell the file itself, upload it to design marketplaces, or claim authorship. That protects both you (from copyright claims) and the original creator (from unauthorized distribution).
Avoiding Costly Delays in Real Projects
Imagine spending hours cutting and weeding vinyl for a preschool welcome sign — only to realize the text is slightly misaligned because you scaled the JPG instead of the SVG. Or ordering custom apparel with the PNG version, only to get blurry results on dark fabric. These aren’t hypotheticals — they happen when users skip format verification or assume “download = done.”
Here’s what seasoned crafters do differently:
– They test-cut at 25% size first, using the SVG or DXF.
– They check stroke width in the AI file — crucial for fine-detail cuts on delicate materials like iron-on foil.
– They save a renamed copy of the EPS before editing, preserving the original for future use.
– They convert PNGs to vectors (using Illustrator’s Image Trace or online tools) only when absolutely necessary — and always verify the result matches the original’s clarity.
Final Thought: Clarity Starts Before the First Cut
I’m Ready for Pre-school Back to School is intentionally simple — but its value multiplies when used intentionally. It’s not about having *more* files; it’s about knowing *which* file serves your goal, your tool, and your timeline. Taking two minutes to match format to function saves ten minutes of rework — and sometimes, the difference between a joyful first-day surprise and a last-minute scramble.
If something feels off after downloading — missing layers, unexpected color shifts, or compatibility errors — reach out immediately. Most creators respond quickly to resolve technical issues. And remember: your confidence grows not from owning every file type, but from understanding what each one does — and trusting your ability to choose wisely.